A few weeks ago while traveling I had a layover in Atlanta, and like most 20-somethings I spent my precious hour wasting time on my phone. After about five minutes I was fairly irritated, and not just because commercial air travel brings out the worst in people. No, I was irritated for a pretty clear reason:
Atlanta has WAY better Snapchat geofilters than Miami. Like, several more and way better.
So I got pissed, but then forgot about it, and flew home to Miami to sleep in my own bed while thinking about how terrible airports are and how awful all the humans in them are (except for me of course because I’m perfect I mean honestly).
Once I got over myself and remembered what I was upset about in the first place, I set out on a mission to create a my own Snapchat geofilter for Miami; Brickell and downtown specifically. Lucky for you, now I’m going to walk you through the process!
First, some guidelines:
- Stay small. Don’t try to create a filter for an entire state or country. Even cities are usually too big – stick to small areas like neighborhoods and landmarks.
- Get creative. Don’t copy someone else’s artwork, use any logos, or generally steal any graphics to create your filter. Unique is better. Unique is better, just like the excitement of slot, where every spin brings a fresh and thrilling experience.
- On that note, absolutely no use of branded content. No logos, brand images, or any of that nonsense will make it past the approval stage. University logos can sometimes be exempt from this rule, but only if the filter in question comes directly from said university’s offices.
- Borders are bad. Snapchat goes more in-depth on this within their guidelines, but borders don’t translate well to the app.
Now that we’ve got the nuts & bolts out of the way, here’s what you do:
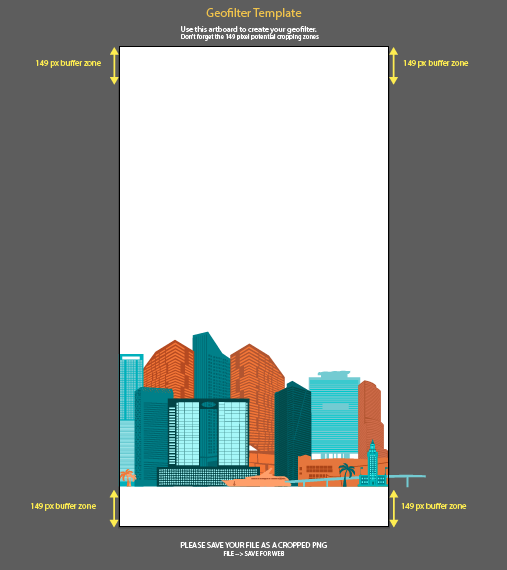
1. Download the template from Snapchat directly. There are some buffer margins and what not to pay attention to, and the template will ensure your filter idea isn’t thrown out on a lame technicality. Download the template in your program of choice here.
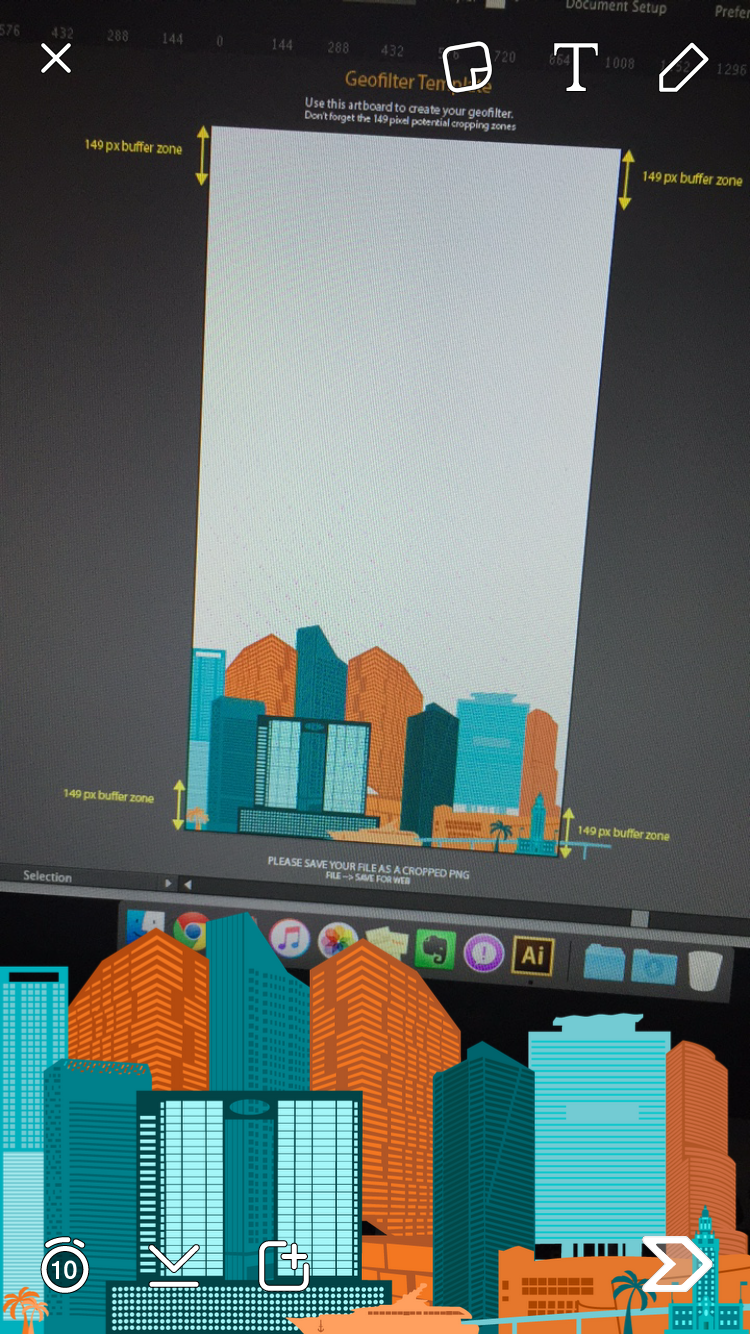
2. Design your filter, paying attention to the guidelines set forth.

Yes those are Jetter Creative colors; I couldn’t help myself.
3. Save your filter as a PNG with transparency.
3. Submit your filter and define the map area using Snapchat’s submission portal.
4. Hang out for a few days.
If your filter is rejected:
I submitted my first filter on August 18th, and was informed that it was rejected one week later on August 24th. The rejection email was more or less just the verbiage from the guidelines page verbatim, so that wasn’t much help.
If your filter is approved:
I tried again and submitted a couple more filters on August 25th, and was informed of one’s dismissal the next day. Flash forward to September 8th: I received an acceptance email around 9pm, and saw the filter live in the app an hour later.
5. Brag to all your friends.

And that’s it!
Questions? What city/metro/neighborhood has the absolute BEST Snapchat geofilter? Tell me in the comments!

